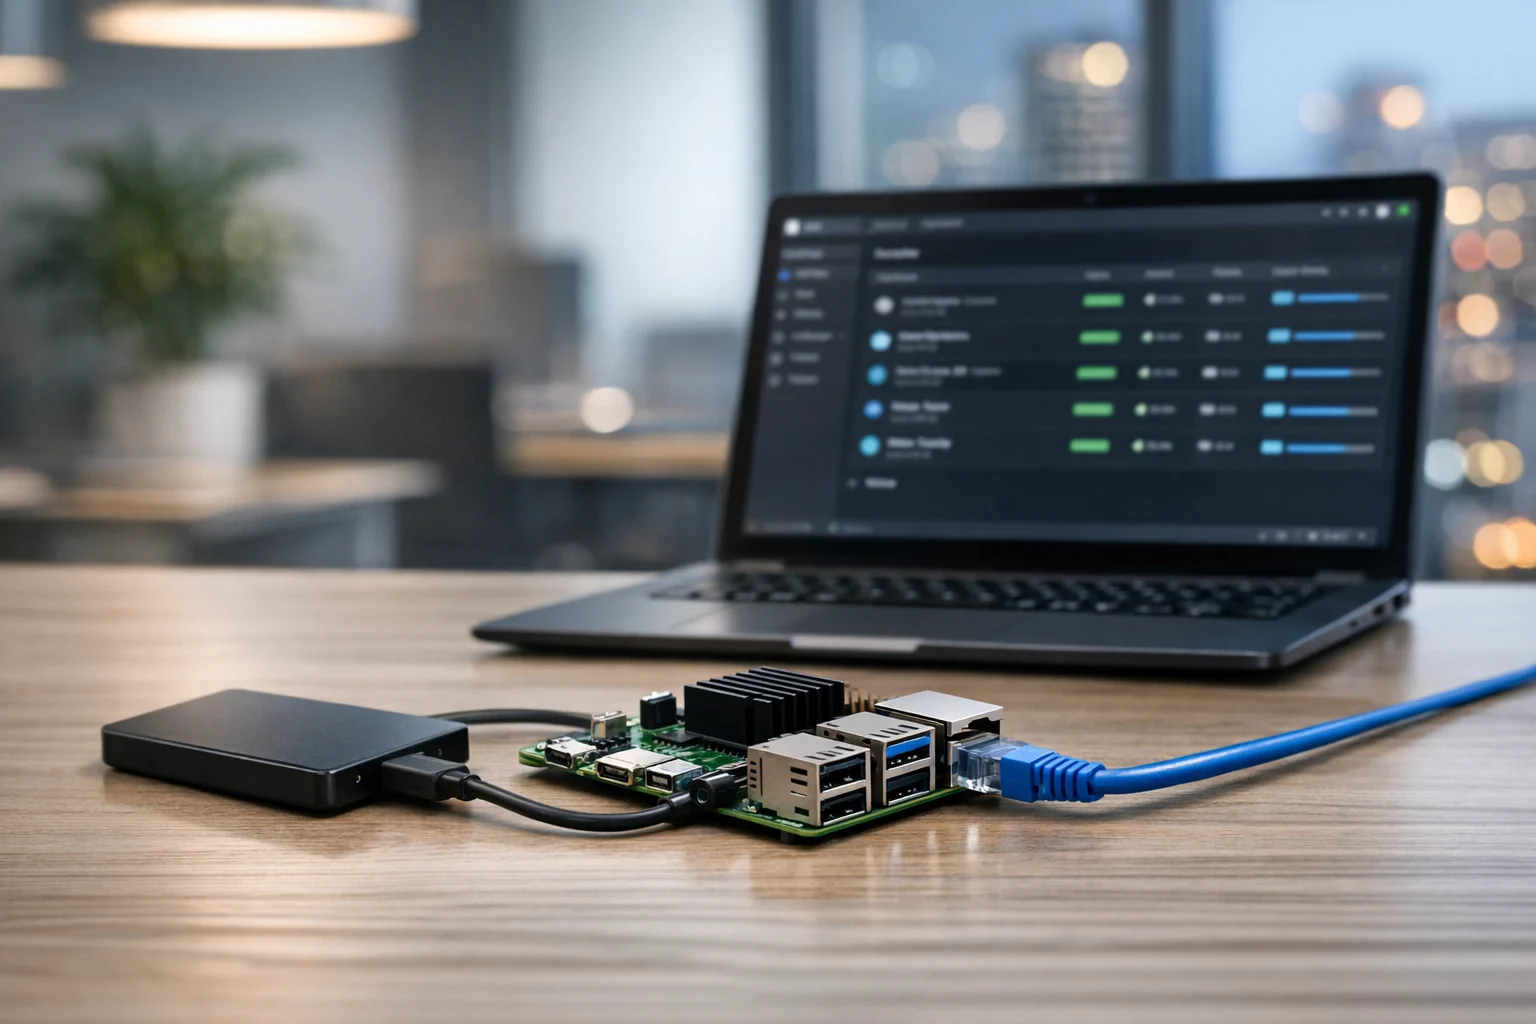
If you want a low cost way to run self hosted apps, a Raspberry Pi is still one of the best places to start. It is small, quiet, power efficient, and capable enough to handle a surprising range of home lab and business services. Add Docker, and that little board becomes much easier to manage.
At SiteLiftMedia, we work with business owners and teams who need practical technology, not hobby projects that turn into time sinks. Sometimes that means enterprise cloud infrastructure. Other times, it means setting up a Raspberry Pi to handle secure internal tools, monitoring, file syncing, a lightweight CRM connector, or a small dashboard without adding another monthly SaaS bill.
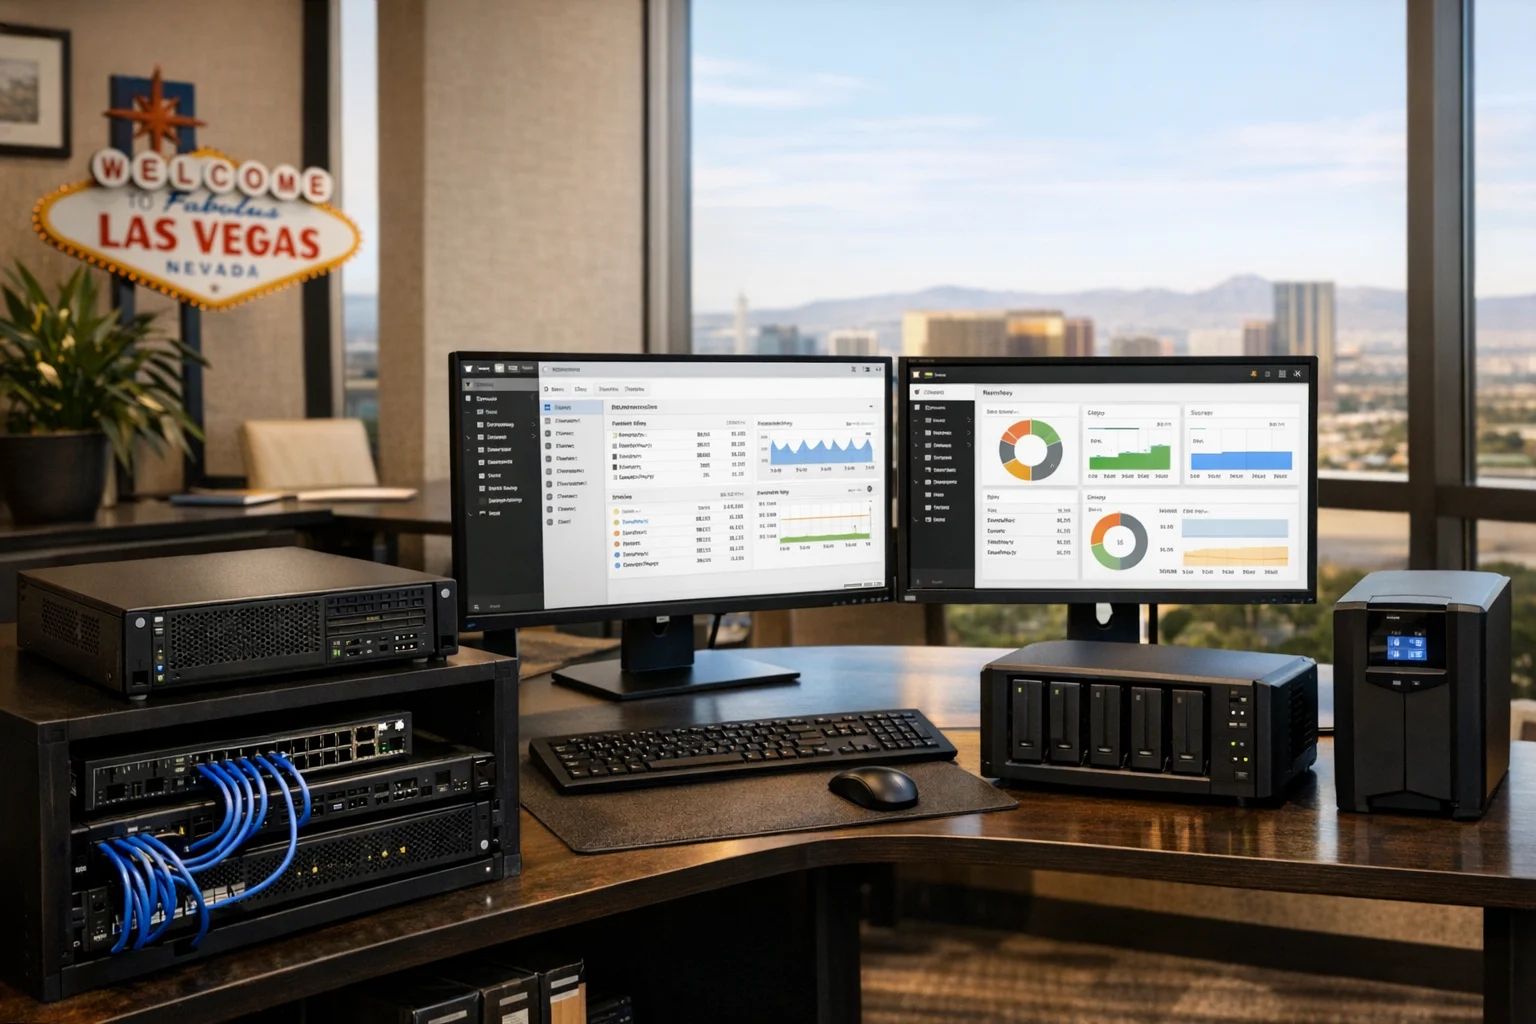
This guide walks through how to install Docker on a Raspberry Pi for self hosted apps, what to do before installing it, how to test it properly, and where business owners should be careful. If you are in Nevada and trying to balance IT costs with growth, this is especially relevant. A lot of Las Vegas businesses are looking for smarter ways to support operations while still investing in web design Las Vegas campaigns, local SEO Las Vegas visibility, and lead generation.
Docker can help you move faster, but only if the setup is clean from the start.
Why Docker makes sense on a Raspberry Pi
Without Docker, every app you install tends to bring its own dependencies, ports, update process, and quirks. That gets messy fast. Docker puts each app into a container, which keeps things isolated and easier to maintain.
On a Raspberry Pi, that matters even more because you are usually working with limited resources. A clean container setup is often easier to back up, migrate, and rebuild than a manually configured system.
For business use, Docker on a Raspberry Pi works well for:
- Internal dashboards for operations or sales tracking
- Uptime monitoring for websites and systems
- Password management for small teams
- Home lab testing before deploying to production
- Lightweight automation tools for marketing workflows
- Development staging for websites or app features
- Private documentation and wiki tools for staff
Where it is not ideal is hosting your primary public website if that site directly drives revenue and depends on speed, uptime, and business website security. If your company is investing in Las Vegas SEO, technical SEO, backlink building services, or custom web design, your main production site should live on infrastructure built for public traffic and support. A Raspberry Pi can still support internal systems around that website.
If you are building the Pi into a broader office or home lab environment, our guide on turning a Raspberry Pi into a lightweight server is a helpful companion read.
What you need before installing Docker
Get the basics right before you touch Docker. Most install problems are not really Docker problems. They are storage problems, power problems, network problems, or OS selection mistakes.
Hardware checklist
- Raspberry Pi 4 or Pi 5, preferably with 4GB RAM or more
- Reliable power supply that matches your model
- Quality microSD card, or even better, an SSD for better performance and durability
- Ethernet connection if possible, especially for stable self hosted services
- Cooling if you plan to run several containers or keep the device on 24/7
A Pi 3 can run Docker, but for business use, or even semi serious self hosting, it is usually better to skip it unless the workload is tiny.
Software checklist
- Raspberry Pi OS Lite 64 bit
- SSH enabled so you can manage it remotely
- A static IP or DHCP reservation on your network
- A non default password and basic hardening already in place
The 64 bit OS matters. Many newer Docker images are built for arm64, and compatibility is much better than it used to be. Choosing 32 bit today usually creates unnecessary headaches later.
Prepare the Raspberry Pi first
Once Raspberry Pi OS Lite is installed and the system is online, log in over SSH or through a local terminal and update everything first. Do not skip this step.
- Update package lists: sudo apt update
- Upgrade installed packages: sudo apt full-upgrade -y
- Reboot the Pi: sudo reboot
After rebooting, set a few basics if you have not already:
- Change the default password
- Set the correct timezone so logs and container schedules make sense
- Set the hostname to something recognizable like office-pi or docker-pi
- Confirm your IP address and reserve it in your router if needed
This is also a good time to verify disk space. Self hosted apps grow over time, especially once logs, backups, uploads, and databases pile up. If you already know this Pi will store more than a few lightweight services, it may be smarter to connect network storage or move persistent data onto a better drive. If you need a solid storage companion, our article on using TrueNAS for a reliable home lab storage server can help you plan that piece correctly.
Install Docker on the Raspberry Pi
There are a few ways to install Docker, but for Raspberry Pi systems running Debian based Raspberry Pi OS, the official convenience script is the easiest and usually the fastest route.
Run these commands:
- Install curl if needed: sudo apt install curl -y
- Download and run the Docker install script: curl -fsSL https://get.docker.com | sh
This installs the Docker engine and related components. When it finishes, add your current user to the Docker group so you do not have to type sudo before every Docker command.
- Add your user to the Docker group: sudo usermod -aG docker $USER
Then either log out and back in, or run:
- Refresh group membership: newgrp docker
Now verify the install:
- Check Docker version: docker version
- Run a test container: docker run hello-world
If you see the hello-world success message, Docker is installed and working.
Check Docker Compose support
Most self hosted apps today are easiest to run with Docker Compose. Newer Docker installs usually include the Compose plugin automatically. Verify it with:
- Check Compose version: docker compose version
If it is missing, install it with:
- Install Compose plugin: sudo apt install docker-compose-plugin -y
Notice the command is docker compose with a space, not the older docker-compose format. You will still see older guides using the legacy syntax.
Your first useful container
For a real world test, Portainer is a smart choice on Raspberry Pi because it gives you a visual interface for managing containers. That is useful for business owners and marketing managers who want a manageable setup without living in the terminal every day.
Start by creating a volume for Portainer data:
- Create persistent volume: docker volume create portainer_data
Then run the container:
- Run Portainer: docker run -d -p 8000:8000 -p 9443:9443 --name portainer --restart=always -v /var/run/docker.sock:/var/run/docker.sock -v portainer_data:/data portainer/portainer-ce:latest
After that, open your browser and visit:
https://your-pi-ip:9443
You should see the Portainer setup screen. From there, you can create and manage additional containers through a cleaner interface.
Other good starter apps on a Raspberry Pi include:
- Uptime Kuma for website and service monitoring
- AdGuard Home for network filtering
- Vaultwarden for lightweight password management
- Nginx Proxy Manager for reverse proxy handling
- File browser tools for internal document access
Just make sure each app has an image that supports arm64, or ARM in general. That is one of the biggest compatibility checks on a Pi.
Use Docker Compose for cleaner app management
Once you are past a single test container, switch to Docker Compose. It is cleaner, easier to document, and easier to rebuild if something breaks.
A common workflow looks like this:
- Create an app folder, such as /home/pi/apps/uptime-kuma
- Add a compose file that defines the image, ports, volumes, and restart policy
- Launch it with docker compose up -d
- Update later with docker compose pull and docker compose up -d
It sounds simple because it is, and that is exactly why Compose works so well for self hosted apps.
In a business environment, this also creates a repeatable record of what is running. If your system administrator changes roles, or your internal tech lead leaves, the setup is much easier to hand off. At SiteLiftMedia, that kind of repeatability matters whether we are handling system administration, website maintenance, or a more advanced deployment tied to cybersecurity services and server hardening.
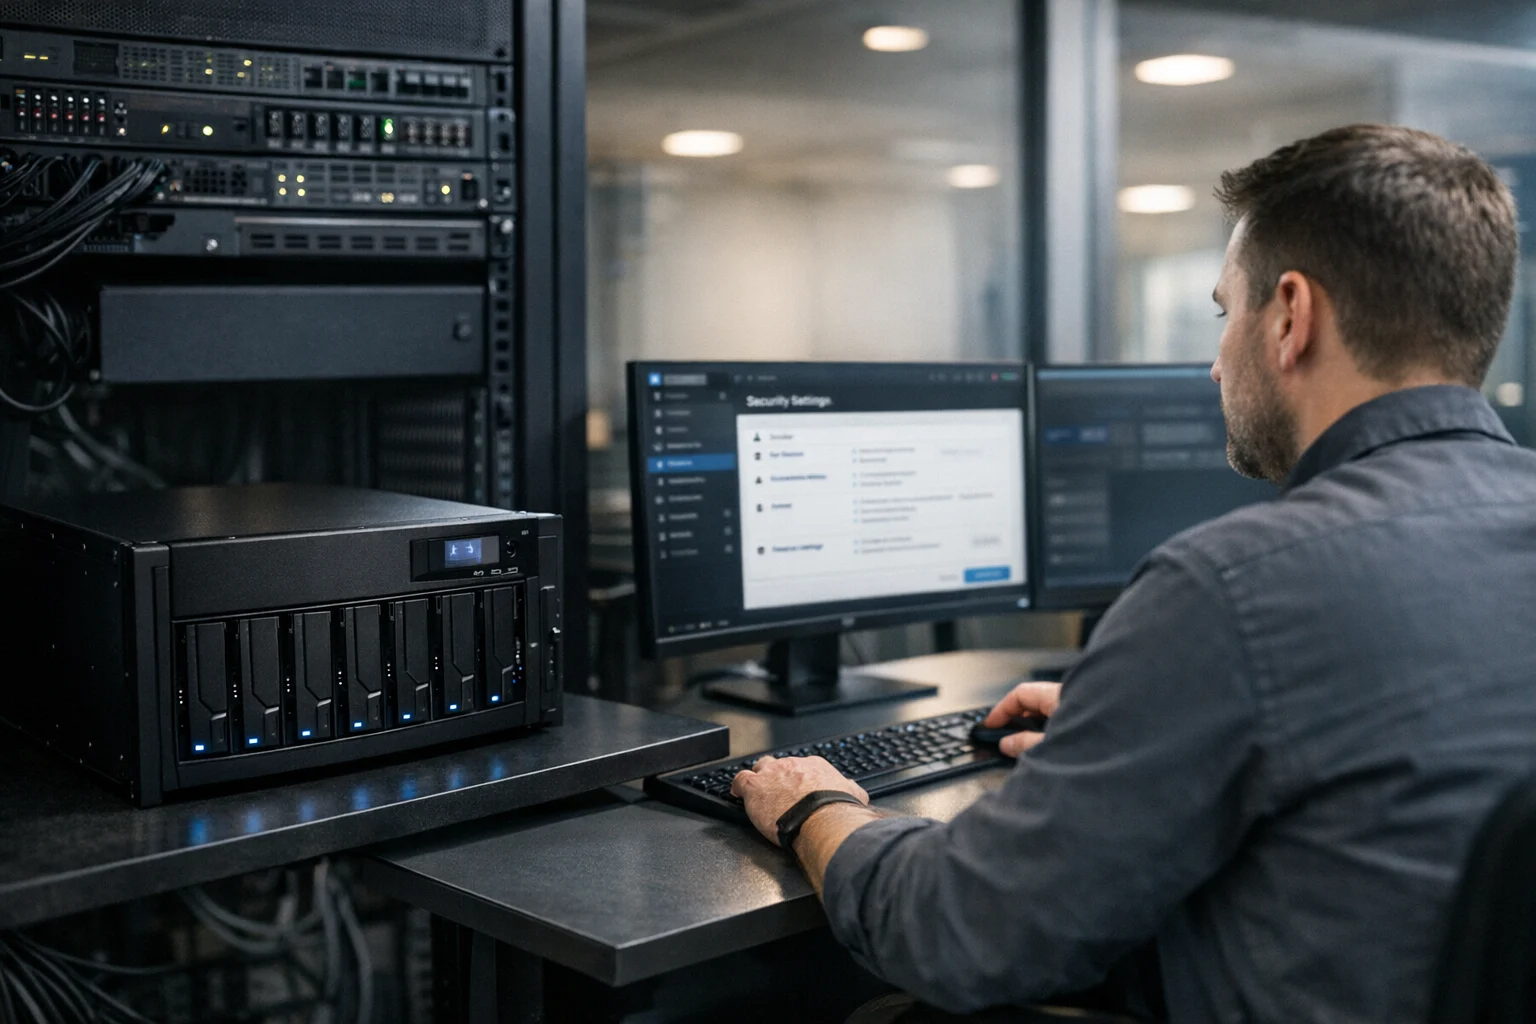
Security steps you should not ignore
This is where a lot of Raspberry Pi tutorials get too casual. Installing Docker is easy. Running it securely is where the real work starts.
If the Pi only lives on a trusted internal network, your risk is lower, but it is not zero. If you expose self hosted apps to the internet, even for a small office, you need to take security seriously.
Minimum security checklist
- Change all default credentials immediately
- Keep Raspberry Pi OS updated
- Update containers regularly
- Use strong passwords and MFA where possible
- Do not expose unnecessary ports
- Use HTTPS for web based apps
- Restrict admin interfaces with VPN, IP filtering, or local only access
- Back up persistent volumes before major updates
It is also smart to avoid direct public exposure unless you know exactly what you are doing. Tools like Tailscale, WireGuard, or a properly configured reverse proxy are much safer than casually port forwarding services to the internet.
If you are using the Pi to support internal business operations, especially with customer data, think beyond convenience. Business website security, penetration testing, and routine patching are not just enterprise concerns. Smaller companies get targeted all the time, especially when their stack is pieced together without a plan.
For organizations building a broader self hosted environment, our guide on how to secure a Proxmox server before production use pairs well with these principles. The platform is different, but the hardening mindset is the same.
Common Raspberry Pi Docker issues and fixes
Most Docker installs on a Pi go smoothly. When they do not, the cause is usually one of these.
Problem: The container will not start
Check the image architecture. Some images are built only for x86 systems and will not run on ARM. Look for arm64 support on Docker Hub or in the project documentation.
Problem: The Pi feels slow
This often comes down to weak storage, too many containers, or thermal throttling. Moving from microSD to SSD is one of the biggest real world upgrades you can make. A small fan or better case helps too.
Problem: Permission errors with Docker commands
Make sure your user was added to the docker group and that you logged out and back in afterward.
Problem: Apps disappear after a reboot or update
That usually means you forgot persistent volumes or bind mounts. Containers are disposable. Your data should not be.
Problem: Port conflicts
If one app is already using a port, another container cannot use it. Change the host side port mapping, such as 8080:80 instead of 80:80.
Where a Raspberry Pi fits in a real business stack
For business owners, the smartest use of a Raspberry Pi is usually as a support system, not the centerpiece of your public presence. It can run internal tools, status checks, automation tasks, local backups, or a test environment without adding much monthly cost.
That is especially valuable when budget priorities are elsewhere, like redesigning your site, improving technical SEO, or increasing lead flow. A company investing in Las Vegas SEO, or trying to compete in a crowded SEO company Las Vegas market, should keep its core website infrastructure professional and reliable. At the same time, it can absolutely use a Pi for supporting operations behind the scenes.
For example, a local business might use a Raspberry Pi Docker setup for:
- Internal uptime alerts for the main website and landing pages
- Local file sync or backup tasks
- Marketing automation helpers tied to forms or reporting
- Staging tools before pushing changes live
- Small team documentation for SOPs and training
If your public website needs performance work, SEO gains, or a redesign that converts better, that is a different project. SiteLiftMedia helps with web design Las Vegas campaigns, custom web design, local SEO Las Vegas strategy, social media marketing, backlink building services, website maintenance, and the technical side that keeps digital growth from stalling. If you are reworking a WordPress site at the same time, our article on converting WordPress sites for speed, SEO, and growth is worth reading.
When to stop doing it yourself
A Docker Pi setup is a smart DIY project if your needs are modest and you have a little patience. It stops being efficient when:
- You need uptime guarantees and no one internally owns the stack
- You are exposing services publicly without a security plan
- You need monitoring, backups, and patching done consistently
- You are mixing business critical workloads with experimental tools
- Your team is losing time on admin work instead of revenue work
That is usually when it makes sense to bring in outside help. Not because the tech is impossible, but because the hidden cost becomes time, risk, and distraction.
If you want help setting up Docker on a Raspberry Pi, tightening server hardening, reviewing business website security, or planning a broader infrastructure and digital growth roadmap, SiteLiftMedia can help. If you are building this for real business use, start with a clean install, document every container, and treat security like part of the setup, not something to fix later.
Photo Gallery