RetroPie is still one of the most satisfying Raspberry Pi projects you can build. It turns a small, inexpensive board into a polished retro gaming machine that fits naturally in a home office, break room, showroom, waiting area, or event booth. If you want the fastest path from unopened parts to a working system, this guide walks through how to install RetroPie on a Raspberry Pi step by step, including the details that usually cause problems.
At SiteLiftMedia, we work with businesses nationwide and spend a lot of time helping Las Vegas companies with technology projects that need to look polished and run reliably. That usually includes web design Las Vegas, local SEO Las Vegas, technical SEO, website maintenance, cybersecurity services, system administration, and business website security. The same practical mindset applies to hardware projects. If you’re building a branded game station for a hospitality space, convention booth, or employee lounge, the setup needs to be clean, stable, and easy to maintain.
This walkthrough is written from the perspective of actually setting these up, not just reading a spec sheet. We’ll cover the right hardware, the best install path, what to configure after the first boot, and how to avoid the most common headaches.
Why RetroPie is still worth installing
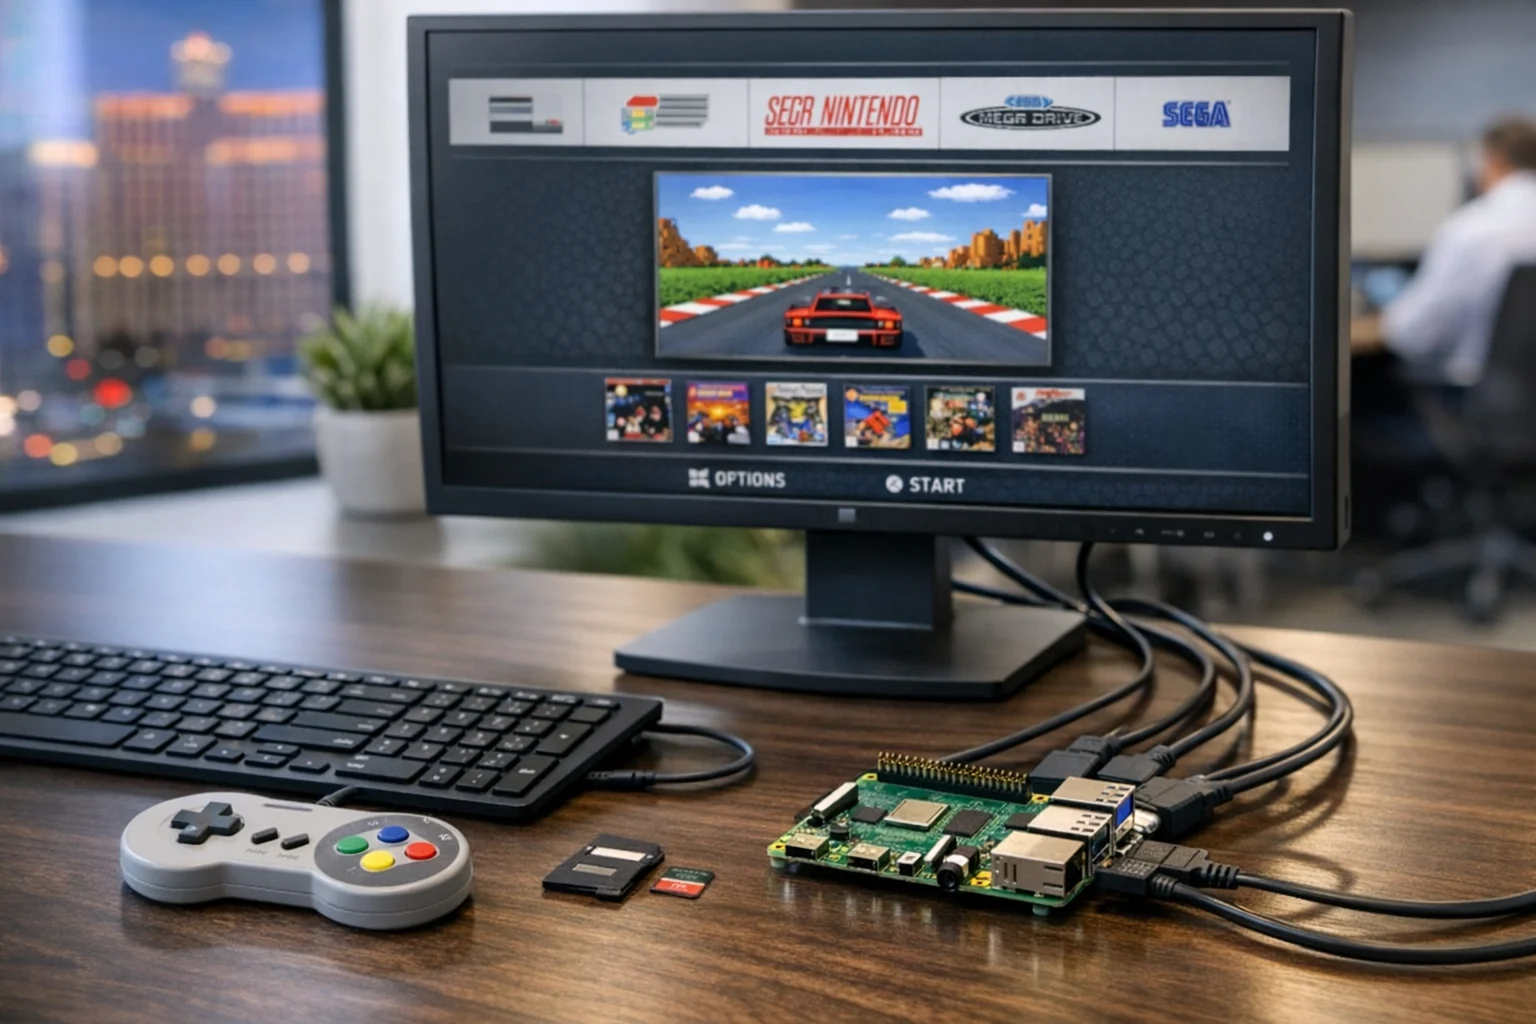
RetroPie gives you a front end called EmulationStation, a set of emulators, and the tools needed to run classic games from multiple systems on one Raspberry Pi. Once it’s installed correctly, it feels far more complete than a random emulator setup on a laptop. It boots into a console-style menu, works well with gamepads, and can be customized with themes, artwork, and controller shortcuts.
For business owners and marketing teams, there’s also a practical use case. A well-built RetroPie system can become a conversation piece in an office lobby, a trade show attraction, or a memorable feature in a customer waiting area. In Las Vegas, where presentation matters and event traffic never really slows down, even a simple gaming station can help a booth or retail space stand out. We’ve seen projects like this connect naturally to larger brand refreshes, custom web design, social media marketing campaigns, and Q1 growth strategies for businesses that want more engagement in person and online.
What you need before you start
You don’t need a huge parts list, but the parts do matter. A weak power supply or a slow microSD card will cost you more time than any software step.
- Raspberry Pi 4, ideally 2GB, 4GB, or 8GB RAM. A Pi 4 is still the easiest and most widely supported option for RetroPie. If you already have another model, compatibility may vary.
- MicroSD card, 32GB or larger, Class 10 or better. SanDisk Extreme or Samsung EVO cards are solid choices.
- Official or high-quality power supply. Low voltage causes random problems.
- Micro HDMI to HDMI cable for the Pi 4.
- USB keyboard for setup, even if you plan to use controllers later.
- USB or Bluetooth controller. Xbox and PlayStation-style controllers usually work well.
- Ethernet connection or Wi-Fi access for updates and ROM transfer.
- A computer to download the image and flash the microSD card.
If you’re building more than a basic tabletop setup, it’s also worth thinking about cooling, a case, cable management, and a clean power switch. Those details matter even more when the system is going into a client-facing space.
Step 1: Pick the right Raspberry Pi for the job
If you’re buying hardware specifically for RetroPie, get a Raspberry Pi 4. It offers the easiest install path and enough performance for a wide range of classic consoles. You can push into more demanding emulation with careful settings, but for most people the sweet spot is older systems that run cleanly and consistently.
A Pi 4 with 4GB of RAM is a comfortable middle ground. Retro emulation doesn’t need massive memory, but the extra headroom helps with themes, scraping artwork, and smoother day-to-day use. Pair it with a decent case and active cooling if the system will stay on for long stretches.
If your real goal is a cabinet build, wall-mounted display, or branded event station, you may also want to read our guide to building a RetroPie arcade system at home. It covers the physical side that comes after the software install.
Step 2: Download the RetroPie image
Go to the official RetroPie download page from your computer and choose the image that matches your Raspberry Pi model. For a Pi 4, download the Raspberry Pi 4 and 400 image. Save the file somewhere easy to find, like your Downloads folder.
At this stage, keep it simple. Use the official image first. You can always customize later. A lot of failed installs start with prebuilt images from random sources, outdated community packs, or heavily modified builds that look flashy but break updates and controller mapping.
You’ll also want a flashing tool. Raspberry Pi Imager is the easiest option for most users, and it handles custom images well.
Step 3: Flash the microSD card
This is the step where the RetroPie image gets written to your microSD card.
Using Raspberry Pi Imager
- Insert your microSD card into your computer.
- Open Raspberry Pi Imager.
- Choose Use custom or the equivalent custom image option.
- Select the RetroPie image file you downloaded.
- Choose your microSD card as the storage target.
- Click Write and wait for the process to finish.
Once the write completes, safely eject the microSD card. Don’t pull it out while the computer is still finishing background disk activity. Corrupt writes happen more often than people expect.
If you ever want to repurpose another Raspberry Pi for office utilities or internal tools after this project, this lightweight Raspberry Pi server guide is a useful next build.
Step 4: Boot RetroPie for the first time
Now move to the Raspberry Pi itself.
- Insert the flashed microSD card into the Raspberry Pi.
- Connect HDMI to your monitor or TV.
- Plug in a USB keyboard.
- Connect a controller if you have one ready.
- Connect Ethernet if available.
- Plug in the power supply last.
On the first boot, RetroPie will expand the filesystem and then load EmulationStation. This may take a minute or two. If everything is working, you’ll land on the controller configuration screen.
Hold a button on your controller to begin mapping. If you don’t have enough buttons for every prompt, hold any existing button to skip the unused ones. Make sure you assign a Hotkey Enable button. This is what lets you exit games and access emulator shortcuts later. A common choice is the Select button.
If the controller doesn’t respond, use the keyboard for now. You can configure the controller after the initial setup.
Step 5: Connect to the network and update the system
Before you add games, get the system connected and updated. This prevents a lot of strange behavior later.
To connect over Wi-Fi
- From the main EmulationStation screen, press Start.
- Open Wi-Fi.
- Select Connect to Wi-Fi network.
- Choose your network and enter the password.
If you have Ethernet available, use it. It’s faster and more stable, especially if you’re transferring a lot of files.
Update RetroPie
- Go to the RetroPie menu.
- Open RetroPie Setup.
- Choose to update the setup script first.
- Then update installed packages if prompted.
Updates can take a while, so let them finish. Reboot when done.
This is the same kind of discipline we use on client infrastructure at SiteLiftMedia. Whether it’s a Raspberry Pi, a business workstation, or a production server, current packages and clean updates matter. It’s the same thinking behind technical SEO audits, website maintenance, system administration, server hardening, and penetration testing. Stable foundations save time.
Step 6: Configure video, audio, and basic preferences
Once the system is updated, spend a few minutes dialing in the display and sound. This part often gets skipped, and then people assume the install failed.
Video setup
If you’re using a modern TV or monitor, RetroPie usually detects the display correctly. If the screen is blank, flickering, cropped, or running at an odd resolution, try these fixes:
- Use a different HDMI cable or HDMI port first.
- Boot with the display already powered on.
- Set the monitor or TV to 1080p if you can. That’s often more reliable than 4K for retro setups.
- Open Raspberry Pi configuration tools from the RetroPie menu if you need to force HDMI output.
Audio setup
- From the RetroPie menu, open the audio settings.
- Choose HDMI if your sound should play through the TV or monitor.
- Choose the analog jack if you’re using external speakers on supported models.
- Test volume before you start loading games.
If sound is missing in only one emulator, that usually points to an emulator-specific setting, not a broken install.
Step 7: Transfer ROMs and BIOS files the right way
RetroPie won’t show most consoles until you add games for them. That’s normal. It starts with only the menus and whatever systems it can detect from your files.
Important: only use ROMs and BIOS files that you legally own or are legally allowed to use. This guide is about setup, not piracy.
Option 1: Transfer ROMs over the network
If your Raspberry Pi is on the same network as your computer:
- On Windows, open File Explorer and enter \\retropie.
- On macOS, connect to smb://retropie.
- Open the roms folder.
- Copy each ROM into the matching system folder, such as nes, snes, or genesis.
Option 2: Use a USB drive
- Format a USB drive as FAT32 or exFAT if supported.
- Create a folder named retropie on the drive.
- Insert the drive into the powered-on Raspberry Pi and wait for the folder structure to build.
- Move the drive back to your computer.
- Copy ROMs into the new system folders.
- Insert the drive into the Raspberry Pi again and let it copy the files.
BIOS files
Some systems need BIOS files to run correctly. These go into the BIOS folder on the RetroPie share. If a game fails to launch, BIOS requirements are one of the first things to check.
After transferring files, restart EmulationStation. The new systems should appear in the main menu.
Step 8: Set up controllers, themes, and useful shortcuts
This is where the install starts to feel complete.
Pair a Bluetooth controller
- Open the RetroPie menu.
- Go to Bluetooth.
- Put your controller into pairing mode.
- Find it in the device list and pair it.
- Return to EmulationStation and map buttons when prompted.
If Bluetooth gives you trouble, use a wired controller first. Wireless is nice, but reliable input matters more than aesthetics.
Recommended button setup
- Hotkey + Start to exit a game
- Hotkey + X for the RetroArch menu on many setups
- Hotkey + Right Shoulder to save state on some mappings
- Hotkey + Left Shoulder to load state on some mappings
Exact shortcuts can vary depending on the emulator core, but this pattern is common and easy to remember.
Add a theme and scrape artwork
You can leave the default theme in place, but if the system is customer-facing, install a cleaner theme and scrape box art and metadata. A polished interface changes how the whole build is perceived. That same design logic carries into custom web design, UI cleanup, and conversion-focused web design Las Vegas projects. People judge the experience quickly.
Step 9: Fine tune emulator performance
If a game launches but doesn’t feel right, don’t assume the Raspberry Pi can’t handle it. A lot of performance issues come down to the selected emulator core or bad defaults.
- Launch the game and watch for the runcommand menu splash.
- Use the option to select a different emulator for that game or system.
- Test alternatives if one core has audio crackle, lag, or visual glitches.
- Stick to simpler shaders at first. Fancy visual filters can cost performance.
Also watch for temperature and power issues. If you see a low-voltage warning or random stutter across multiple systems, your power supply is the first suspect. If the case runs hot, add cooling before chasing software fixes.
Common RetroPie install problems and how to fix them
The Raspberry Pi won’t boot
- Reflash the microSD card. Bad writes happen.
- Use a known good power supply.
- Try a different microSD card if you have one.
- Make sure you downloaded the image for the correct Pi model.
No video on the screen
- Check that you’re using the correct HDMI port on the Pi 4.
- Turn the display on before powering the Pi.
- Try another cable.
- Force HDMI output in the configuration tools if needed.
Controller not detected
- Test with a USB keyboard to confirm the system is responsive.
- Reconnect the controller after boot.
- Use wired mode for the initial setup.
- Remove and re-pair Bluetooth devices if mappings get corrupted.
Games don’t appear in the menu
- Confirm the ROMs are in the correct system folders.
- Restart EmulationStation.
- Check file extensions and compatibility.
- Make sure the files copied fully and are not zero-byte placeholders.
A game opens and immediately closes
- You may be missing BIOS files.
- The ROM may be incompatible or corrupted.
- The selected emulator core may be wrong for that title.
Performance is choppy
- Use a better power supply.
- Reduce display resolution to 1080p.
- Try a different emulator core.
- Disable heavy shaders and visual effects.
- Check for overheating.
Where RetroPie fits in a business environment
This may sound like a hobby project, but there are smart commercial uses for it when it’s done well. We’ve seen retro setups work in employee lounges, hospitality spaces, creative offices, and event booths where brands want more interaction without spending a fortune on custom hardware. For Las Vegas businesses, that can mean convention floor engagement, casino-adjacent hospitality spaces, themed retail environments, or showroom entertainment while customers wait.
The key is not to treat it like a toy that happens to be plugged into the network. If the device is going into a business setting, think through power protection, restricted network access, safe shutdown, physical security, and who will maintain it. That’s especially true if the same organization is already investing in local SEO Las Vegas, Las Vegas SEO campaigns, backlink building services, content planning, social media marketing, or a site refresh with an SEO company Las Vegas. Brand experience is connected. A sloppy kiosk can undercut the same credibility that polished digital work is meant to build.
If you want the install handled cleanly and the finished system to look like it belongs in your office, booth, or client area, SiteLiftMedia can help. We bring the same attention to this kind of buildout that we bring to custom web design, technical SEO, website maintenance, cybersecurity services, penetration testing, server hardening, and business website security. If you’re in Las Vegas or managing a multi-location brand nationwide, reach out and we’ll help you build a RetroPie setup that’s stable, presentable, and easy for your team to use.
Photo Gallery