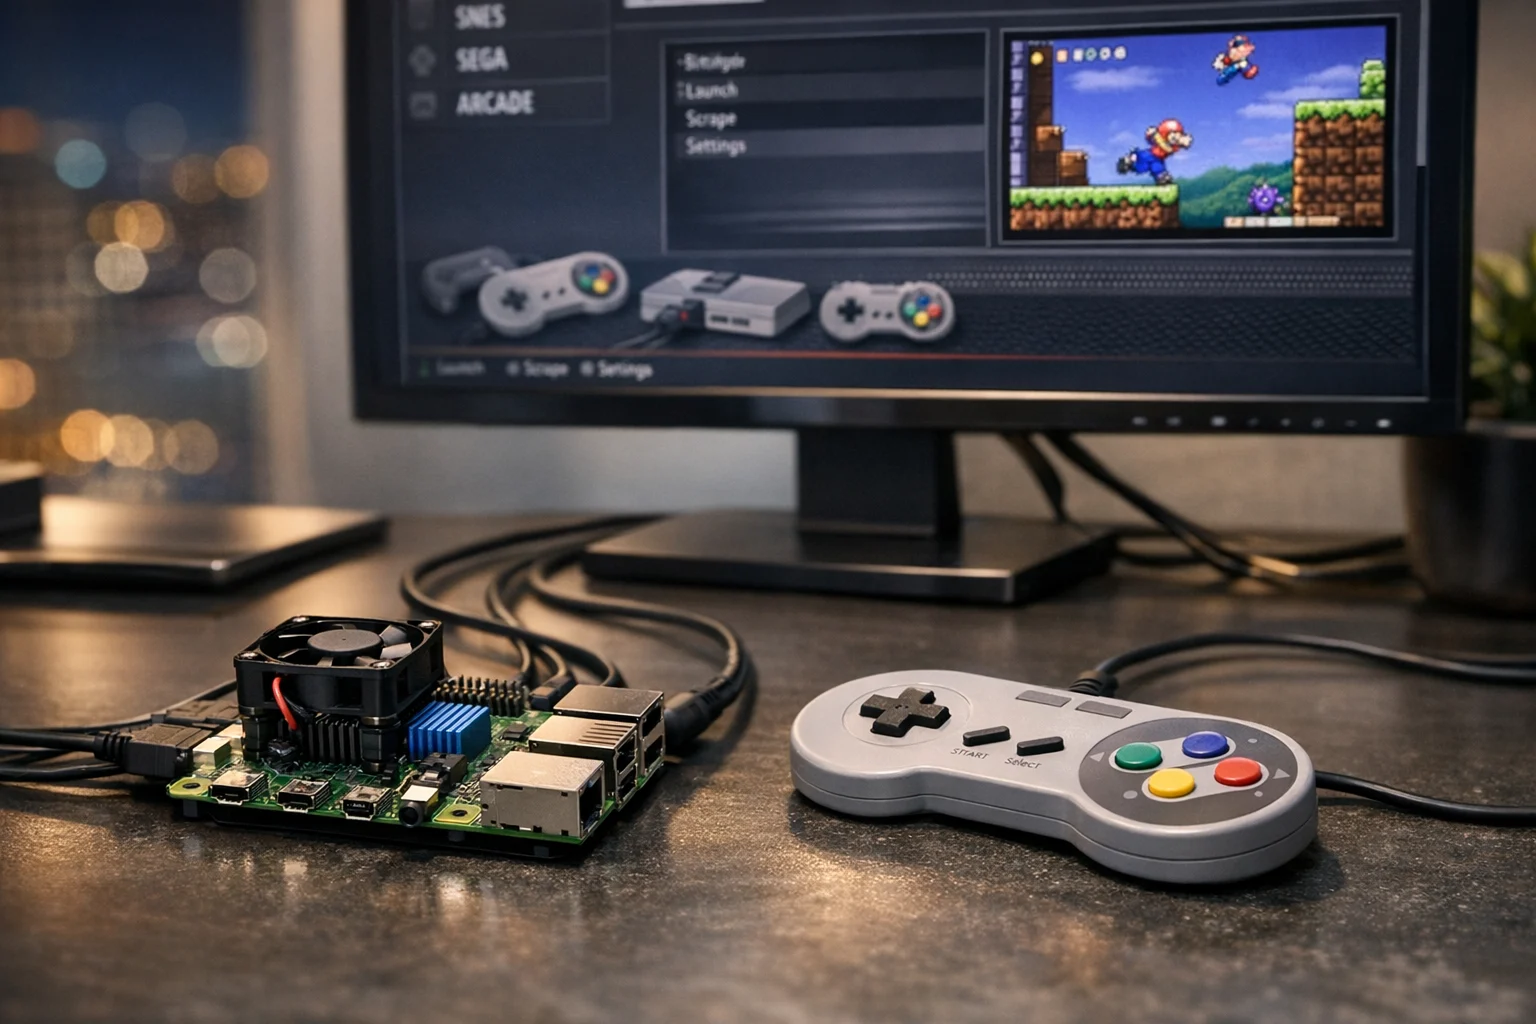
RetroPie can feel fantastic on the right Raspberry Pi setup. It can also feel frustratingly sluggish when a few small hardware and software choices start working against you. If you have choppy menus, controller lag, audio crackle, emulator slowdowns, or random stutter during gameplay, the good news is that most of those issues can be fixed without rebuilding everything from scratch.
In my experience, RetroPie performance usually comes down to a handful of basics: the board you picked, the power supply, heat management, storage speed, emulator selection, display settings, and how much extra visual flair you’ve layered into EmulationStation. Get those right and even a modest Raspberry Pi setup feels far more polished.
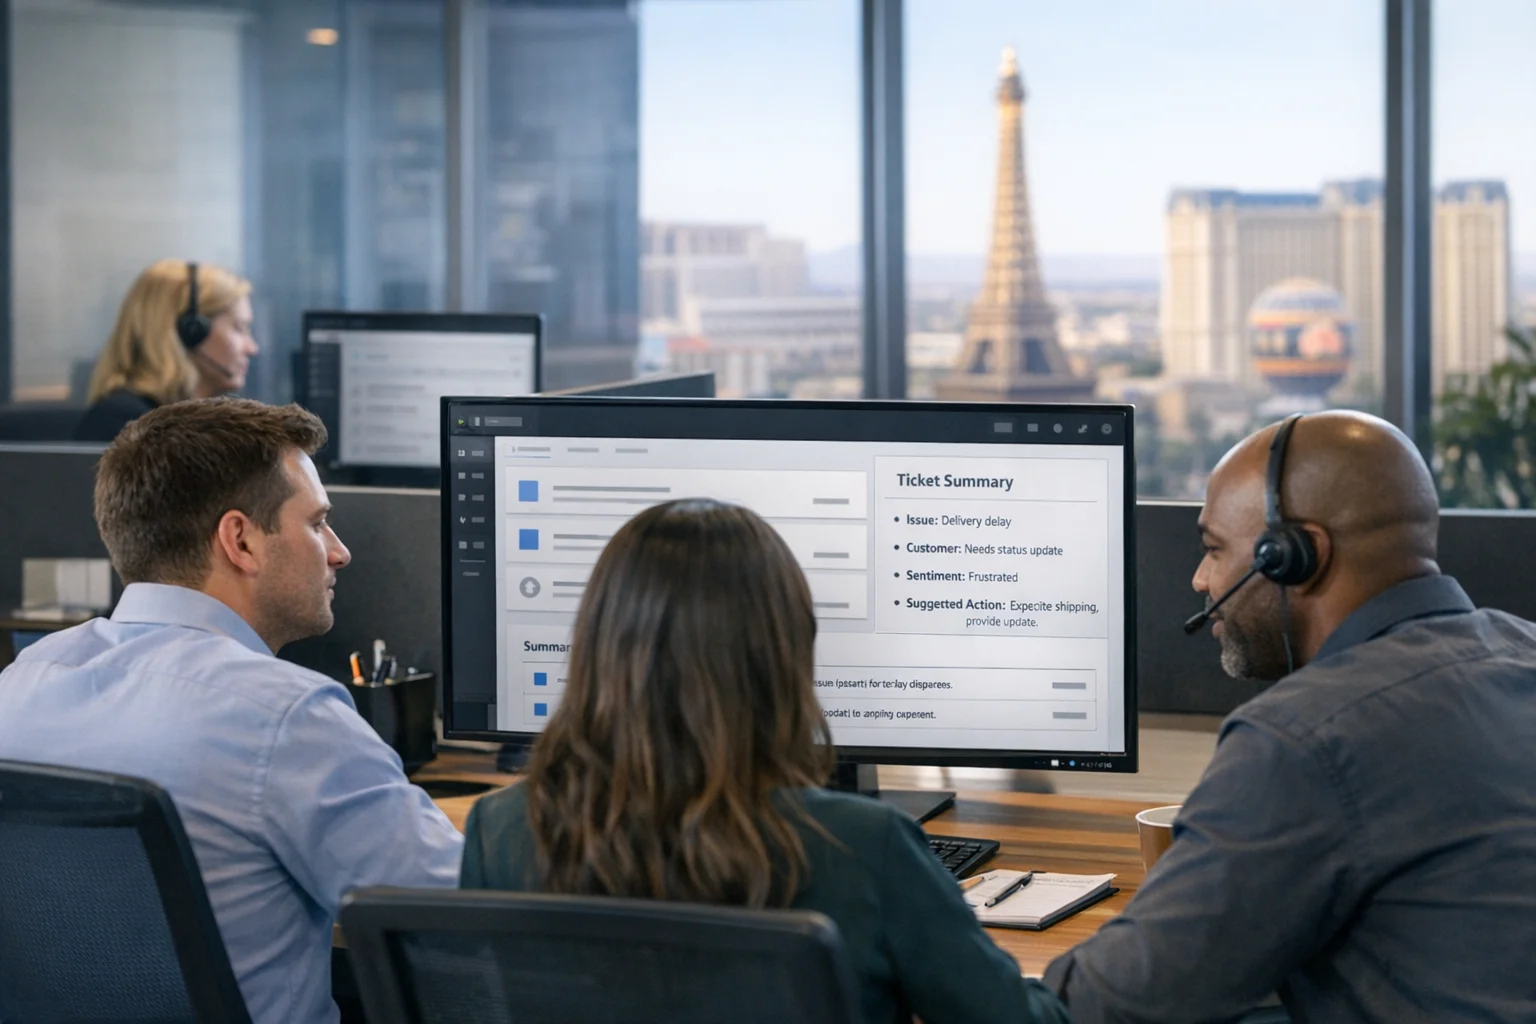
This guide walks through how to optimize RetroPie performance on Raspberry Pi hardware in a way that’s practical, not theoretical. It’s helpful for hobbyists, but it also matters to business owners and marketing teams using Raspberry Pi systems for waiting room entertainment, trade show booths, pop-up activations, office game corners, or branded arcade installs. In a market like Las Vegas, where presentation matters and event traffic can spike fast during summer campaigns and convention season, reliable performance is not optional.
If you’re still building your system, SiteLiftMedia already has a helpful step by step RetroPie installation guide. If you already have a working machine and want better speed, smoother gameplay, and fewer headaches, start here.
Start with the right Raspberry Pi hardware
Not every Raspberry Pi is equally suited for RetroPie, and no amount of tweaking will completely erase hardware limits. Before chasing obscure config changes, make sure the board itself matches your expectations.
Raspberry Pi 4 is still the safest sweet spot for many RetroPie users. It has enough CPU and GPU headroom for a strong 8-bit and 16-bit experience, solid PlayStation performance, and better results in more demanding systems than older models. If you’re using a Raspberry Pi 3, you can still build a very enjoyable RetroPie machine, but you’ll need to be more selective about emulators, shaders, and the systems you expect it to handle well.
Pi Zero and older boards are best for lightweight retro libraries. They’re fun, but they come with more compromise. If your menus already feel slow and gameplay dips under load, the hardware may simply be at its limit.
Pi 5 can be powerful, but compatibility and workflow polish can vary depending on the current RetroPie support stack. If you want the least friction, Pi 4 often remains the safer production choice. If you’re comfortable testing and validating current support, Pi 5 may be worth exploring.
For business use, reliability usually beats raw experimentation. If you’re deploying a branded gaming kiosk in a retail store, office lounge, or Las Vegas event booth, choose the board with the most stable software path, not just the newest one.
Fix power and cooling before touching software
Under-voltage and thermal throttling are two of the biggest RetroPie performance killers, and they’re easy to miss because the system may still boot and appear usable.
A cheap USB power brick can cause intermittent slowdowns, random controller disconnects, and strange audio issues. Use an official or high quality power supply that matches the board’s requirements. A Raspberry Pi that isn’t getting clean, consistent power won’t perform reliably, even if every other part of the setup looks fine.
Heat matters just as much. RetroPie loads are not as heavy as some server or rendering tasks, but sustained emulation, video previews, and upscaled output can still push the board into thermal limits. Once that happens, clock speeds drop, and game performance drops with them.
- Use a case with real airflow, not just a decorative shell.
- Add heatsinks and a small fan for Pi 4 class hardware.
- Keep the unit out of enclosed cabinets if possible.
- Check for the low voltage or temperature warning icon during use.
- Test after 20 to 30 minutes, not just right after boot.
I’ve seen more than one setup improve dramatically after nothing more than swapping in a proper power supply and adding active cooling. That’s a much better first step than spending an hour changing emulator settings blindly.
Upgrade storage and clean up I/O bottlenecks
RetroPie doesn’t need enterprise storage, but it absolutely benefits from faster and more reliable media. A weak microSD card slows boot times, hurts menu responsiveness, increases scraping lag, and can make the whole system feel cheap.
Use a reputable A1 or A2 rated microSD card from a known brand. If your Raspberry Pi model and setup support it, booting from a USB 3 SSD can make the system feel much snappier, especially when your build includes large artwork packs, video previews, or a broad ROM library.
Storage performance affects more than loading screens. EmulationStation is constantly reading metadata, themes, scraped images, and videos. A slow card turns menu browsing into a chore.
- Avoid bargain cards with inflated capacity claims.
- Back up your image before making large changes.
- Keep free space available instead of filling storage to the edge.
- Replace aging cards that have seen years of writes.
If you’re building from scratch and want a cleaner foundation, SiteLiftMedia also covers how to build a RetroPie arcade system at home, which is useful if you’re planning a cabinet, kiosk, or dedicated install.
Use lighter themes and reduce frontend overhead
A lot of RetroPie systems feel slow not because the games are too demanding, but because the frontend is overloaded with visuals. EmulationStation themes with large animations, full screen videos, layered artwork, and heavy transitions may look impressive at first, but they can wear out the hardware quickly.
If menu navigation stutters, input feels delayed, or scrolling through your library is jerky, lighten the frontend first.
- Choose a simpler theme with fewer animated elements.
- Reduce or disable video previews if they cause lag.
- Use smaller image assets instead of giant box art files.
- Remove systems you do not actively use.
- Cut duplicate ROM folders and messy metadata.
This is one of those changes that can produce an immediate improvement. A clean theme with fast storage often feels better than a flashy theme running on stronger hardware.
It’s the same principle we apply on the agency side at SiteLiftMedia. Businesses that come to us through searches like SEO company Las Vegas, web design Las Vegas, or Las Vegas SEO usually don’t just want a website that looks expensive. They want a site that loads quickly, behaves predictably, and converts. RetroPie optimization is surprisingly similar. Good performance comes from design discipline and technical restraint.
Choose the right emulator core for each system
One of the biggest performance gains comes from picking the right emulator for the game and system you’re running. New users often assume there is one best core for everything. That’s not how RetroPie works.
Some emulators prioritize accuracy. Others prioritize speed. On Raspberry Pi hardware, that tradeoff matters.
For 8-bit and 16-bit systems
NES, Genesis, Game Boy, Game Boy Advance, and many SNES games usually run well on the right cores, even on modest hardware. If you’re having trouble, try a lighter core before changing anything else. Certain SNES enhancement chip titles are more demanding, so don’t judge the entire system based on a handful of difficult games.
For arcade games
Arcade emulation is where many RetroPie setups get messy. ROM sets need to match the emulator version. If they don’t, you can get poor performance, missing sound, or outright failures. This is less about squeezing more speed from the Pi and more about using a compatible combination in the first place.
For PlayStation and newer systems
Original PlayStation can run very well on a tuned Raspberry Pi 4. Nintendo 64, Dreamcast, PSP, and similar systems are more selective. Some games run nicely. Others will always need compromise. Lower rendering demands, avoid heavy shaders, and set expectations per title instead of per console.
Two practical habits help a lot here:
- Use per game or per system emulator settings rather than one global setting for everything.
- Test with known demanding titles, not only lightweight ones.
If your system feels inconsistent, write down which core performs best for each platform and stick with it. You’ll save yourself from repeating the same trial and error later.
Lower shader, overlay, and video output demands
Shaders look great when they’re subtle and your hardware has room to spare. On a Raspberry Pi, they can also be the difference between smooth gameplay and dropped frames. CRT effects, scanline filters, bezels, and fancy overlays all add overhead.
If performance is the priority, start with shaders off. Then add them back one at a time, only where they don’t hurt responsiveness.
Your display output matters too. Many people run a Raspberry Pi on a 4K TV because that’s what’s in the room, but RetroPie often behaves better when the output is set more conservatively.
- Try 1080p instead of 4K for better consistency.
- Use 60Hz output when possible.
- Enable your TV’s game mode to reduce latency.
- Turn off unnecessary post processing on the display.
- Check aspect ratio and scaling settings instead of forcing filters to compensate.
Even when raw frame rate is acceptable, display latency can make controls feel mushy. That’s why a system may benchmark fine but still feel off in actual play.
Improve controller responsiveness and USB stability
Not every RetroPie performance complaint is really a performance problem. Sometimes it’s input lag from wireless interference, bad adapters, or flaky USB devices.
Bluetooth controllers are convenient, but they can introduce latency or pairing instability, especially in noisy RF environments. If you’re using the system in an office, public venue, or event space packed with devices, test a wired controller before blaming the Pi.
- Use quality USB controllers or well supported adapters.
- Keep firmware updated on modern gamepads when applicable.
- Avoid overloaded unpowered USB hubs.
- Use 5 GHz WiFi or wired Ethernet if 2.4 GHz interference is heavy.
- Remove unnecessary USB accessories during troubleshooting.
If you need help with the device side of your setup, SiteLiftMedia also has a guide on how to add games and controllers to a RetroPie setup. That’s a useful companion resource when you’re trying to separate controller issues from true emulator slowdowns.
Overclock only after the basics are stable
Overclocking can help, especially on Raspberry Pi 4 hardware, but it should be one of the last steps, not the first. A mild, stable overclock on a well cooled board can improve borderline systems and certain tougher games. A reckless overclock with weak power and poor cooling usually creates more problems than it solves.
If you decide to overclock:
- Do it in small increments.
- Verify power and cooling first.
- Test for stability over real sessions, not just a quick boot.
- Watch for crashes, audio issues, or SD corruption signs.
- Keep notes so you can roll back to the last stable state.
From experience, a conservative performance gain you can trust every day is far better than a fast benchmark followed by random failures. That’s especially true for public facing installs where downtime makes the whole build look amateur.
Keep the software lean and updated with purpose
Updates help, but blindly updating everything can create new variables. The goal is a stable, clean system, not one that’s constantly changing.
Update RetroPie components when you have a reason, such as controller compatibility, bug fixes, or emulator improvements. After each major change, test a few systems before piling on more changes. If you run a business installation, maintain a backup image so you can restore quickly.
Other smart cleanup steps include:
- Disable services you do not use.
- Remove broken themes and unused emulator packages.
- Keep your ROM library organized instead of massively bloated.
- Use local assets when network loading introduces lag.
This kind of discipline looks a lot like good technical SEO and solid infrastructure work. At SiteLiftMedia, we see the same pattern in client projects every day. Faster systems, cleaner architecture, fewer moving parts, and better maintenance win. Whether that’s a RetroPie build, a lead generation website, or a campaign landing page for a Las Vegas brand preparing for heavier competition, performance is rarely accidental.
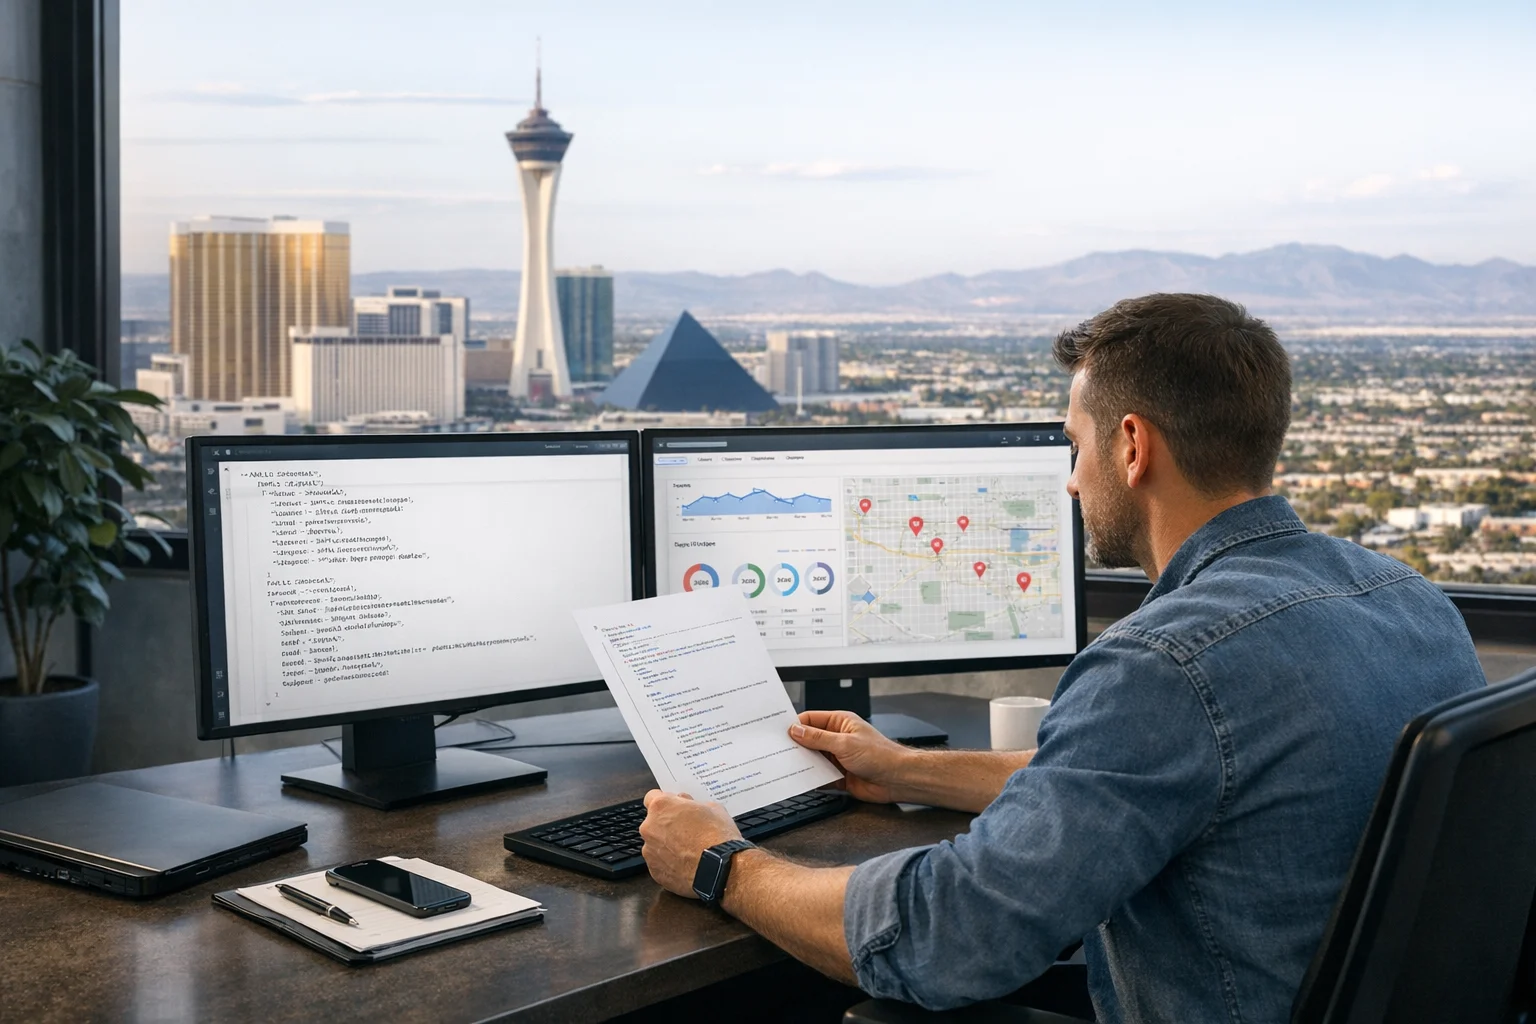
Why this matters for business owners and event teams
For a lot of readers, this article isn’t just about nostalgia. Raspberry Pi devices end up doing real work in business settings. They show branded game experiences at trade shows, entertain customers in waiting areas, support employee culture spaces, or act as interactive pieces inside retail environments.
In Las Vegas, that use case is even more common because experiences matter. A choppy, overheating kiosk at a convention booth reflects poorly on the brand behind it. A well tuned one feels polished, intentional, and worth engaging with.
If your company is already investing in custom web design, local SEO Las Vegas, social media marketing, or even evaluating backlink building services, the same mindset should extend to the hardware you put in front of customers. Reliability is part of marketing. So is speed.
That’s one reason businesses work with SiteLiftMedia beyond content and search visibility. We help with digital performance from several angles, including website maintenance, fast hosting guidance, system administration, and security work. If you’re running Pi based systems in a public or business environment, basic operational discipline matters just as much as game settings.
Secure the build if it lives on a business network
A RetroPie box in a living room is one thing. A RetroPie box on a business network is another. If the system will be used in an office, retail location, hospitality environment, or event space, treat it like a real endpoint.
- Change default credentials.
- Disable services you do not need.
- Separate guest or demo devices from sensitive business systems.
- Back up configurations and ROM metadata.
- Physically secure storage media if the device is public facing.
This is where broader IT practices come into play. If your organization also needs cybersecurity services, penetration testing, server hardening, or stronger business website security, it makes sense to work with one team that understands both the customer facing and infrastructure side of technology. SiteLiftMedia regularly helps businesses think through those connections. If you need a broader setup beyond entertainment, our guide on how to set up a Raspberry Pi for home and business projects is a good next read.
A 30 minute RetroPie performance checklist
If you want a straightforward tune-up session, run through this checklist in order:
- Confirm you are using a proper power supply.
- Check temperature and add cooling if needed.
- Test with a wired controller to rule out input lag.
- Switch to a lighter EmulationStation theme.
- Disable shaders and video previews temporarily.
- Lower display output to 1080p and enable TV game mode.
- Try a faster microSD card or SSD based setup.
- Set the best emulator core per system instead of globally.
- Clean up unused ROMs, duplicate media, and extra services.
- Only then consider a mild overclock.
That process solves most of the real world RetroPie complaints I see. Not every Raspberry Pi can run every emulator perfectly, but many poorly performing systems are leaving easy gains on the table.
If your company is building a branded Raspberry Pi experience, planning a Las Vegas event install, or simply wants a team that understands performance from the hardware layer up through Las Vegas SEO, web design, maintenance, and growth strategy, contact SiteLiftMedia to make sure the setup looks sharp, runs clean, and holds up when people actually start using it.
Photo Gallery